Server Installation
Requirements
OS
All major operating systems including Windows, Linux and macOS are supported.
Environment
The use of Casibase is divided into two steps:
- step1: Deploy and run Casdoor
- step2: Deploy and run Casibase (this docs)
We strongly suggest you use Yarn 1.x to run & build Casdoor&Casibase frontend, using NPM might cause UI styling issues, see more details at: casdoor#294
For Chinese users, in order to download the Go dependency packages successfully, you need to use a Go proxy by Configuring the GOPROXY environment variable. We strongly recommend: https://goproxy.cn/
Database
Casibase uses XORM to talk to the database. Based on Xorm Drivers Support, Casibase currently provides support for the following databases:
MySQLMariaDBPostgreSQLCockroachDBSQL ServerOracleSQLite 3TiDB
guacd
Casibase uses guacamole-server to provide remote desktop access. If you want to use this feature, you need to install guacamole-server first. If you haven't installed guacamole-server, please refer to guacamole-server Installation.
You can also run guacd in docker with the following command:
docker run -d --name guacd -p 4822:4822 guacamole/guacd
Download
Casibase can be installed using pre-built binaries or by building from source.
Pre-built Binaries
For production deployments, we recommend using pre-built binaries. Download the latest release from the GitHub Releases page. Casibase provides binaries for:
- Linux: x86_64 (amd64) and ARM64
- Windows: x86_64 (amd64) and ARM64
- macOS: x86_64 (amd64) and ARM64
Extract the downloaded archive and you'll find the Casibase binary along with the web frontend and configuration files ready to use.
Build from Source
The source code of Casibase is hosted at GitHub: https://github.com/casibase/casibase. Both the Go backend code and React frontend code are inside the single repository.
| Name | Description | Language | Source code |
|---|---|---|---|
| Frontend | Web frontend UI for Casibase | JavaScript + React | https://github.com/casibase/casibase/tree/master/web |
| Backend | RESTful API backend for Casibase | Golang + Beego + XORM | https://github.com/casibase/casibase |
Casibase supports Go Modules. To download the code, you can just simply clone the code via git:
cd path/to/folder
git clone https://github.com/casibase/casibase
Configuration
Configure Casdoor
Please refer to Casdoor-SSO section to configure Casdoor.
Remember your clientId,clientSecret,organization,application and so on in Casdoor configuration, we will use them later.
Configure Database
Casibase supports mysql, mssql, sqlite3, postgres. Casibase uses mysql by default.
MySQL
Casibase will store its users, nodes and topics information in a MySQL database named: casibase. If the database does not exist, it needs to be created manually. The DB connection string can be specified at: https://github.com/casibase/casibase/blob/master/conf/app.conf
driverName = mysql
dataSourceName = root:123456@tcp(localhost:3306)/
dbName = casibase
PostgreSQL
Since we must choose a database when opening Postgres with xorm, you should prepare a database manually before running Casibase.
Let's assume that you have already prepared a database called casibase, then you should specify app.conf like this:
driverName = postgres
dataSourceName = "user=postgres password=postgres host=localhost port=5432 sslmode=disable dbname=casibase"
dbName =
For PostgreSQL, make sure dataSourceName has non-empty dbName and leave the standalone dbName field empty like the above example.
CockroachDB
You can also use Cockroachdb with postgres driver. It has same configuration as postgreSQL.
driverName = postgres
dataSourceName = "user=postgres password=postgres host=localhost port=5432 sslmode=disable dbname=casibase serial_normalization=virtual_sequence"
dbName =
For CockroachDB, don't forget to add serial_normalization=virtual_sequence to the dataSourceName like the above example. otherwise you will get error regarding existed database, whenever the service starts or restarts. Notice, this must be added before the database created.
Sqlite3
You should specify app.conf like this:
driverName = sqlite
dataSourceName = "file:casibase.db?cache=shared"
dbName = casibase
Custom configuration
Casibase supports custom configuration, you can modify the configuration file conf/app.conf to change the configuration.
casdoorEndpoint = <Your Casdoor endpoint>
clientId = <Your Casdoor application's client ID>
clientSecret = <Your Casdoor application's client secret>
casdoorOrganization = <Your Casdoor organization name>
casdoorApplication = <Your Casdoor application name>
Run
Casibase requires Casdoor to provide access control and some back-end services, so you must make sure Casdoor is running properly before running Casibase.
How to install and run Casdoor:
Using Pre-built Binary
If you downloaded a pre-built binary, extract the archive and run Casibase directly. The binary already includes the compiled frontend.
For Linux/macOS:
# Example for Linux x86_64
tar -xzf casibase_Linux_x86_64.tar.gz
cd casibase
./casibase
For Windows (PowerShell):
# Example for Windows x86_64
Expand-Archive casibase_Windows_x86_64.zip -DestinationPath .
cd casibase
.\casibase.exe
The server will start on port 14000 by default.
Development mode
Backend
Casibase's Go backend runs at port 14000 by default. You can start the Go backend with the following command:
go run main.go
After the server is successfully running, we can start the frontend part.
Frontend
Casibase's frontend is a very classic Create-React-App (CRA) project. It runs at port 13001 by default. Use the following commands to run the frontend:
cd web
yarn install
yarn start
Building from Source
If you're building from source, follow these steps to create a production build.
Backend
Build Casibase Go backend code into executable and start it.
For Linux:
go build
./casibase
For Windows:
go build
casibase.exe
Frontend
Build Casibase frontend code into static resources (.html, .js, .css files):
cd web
yarn install
yarn build
Nginx
If you use nginx as a reverse proxy, you need to add the following configuration to the nginx configuration file:
location / {
    *** your configuration ***
    proxy_set_header Upgrade $http_upgrade;
    proxy_set_header Connection "upgrade";
}
Because Casibase uses websocket to communicate with guacd.
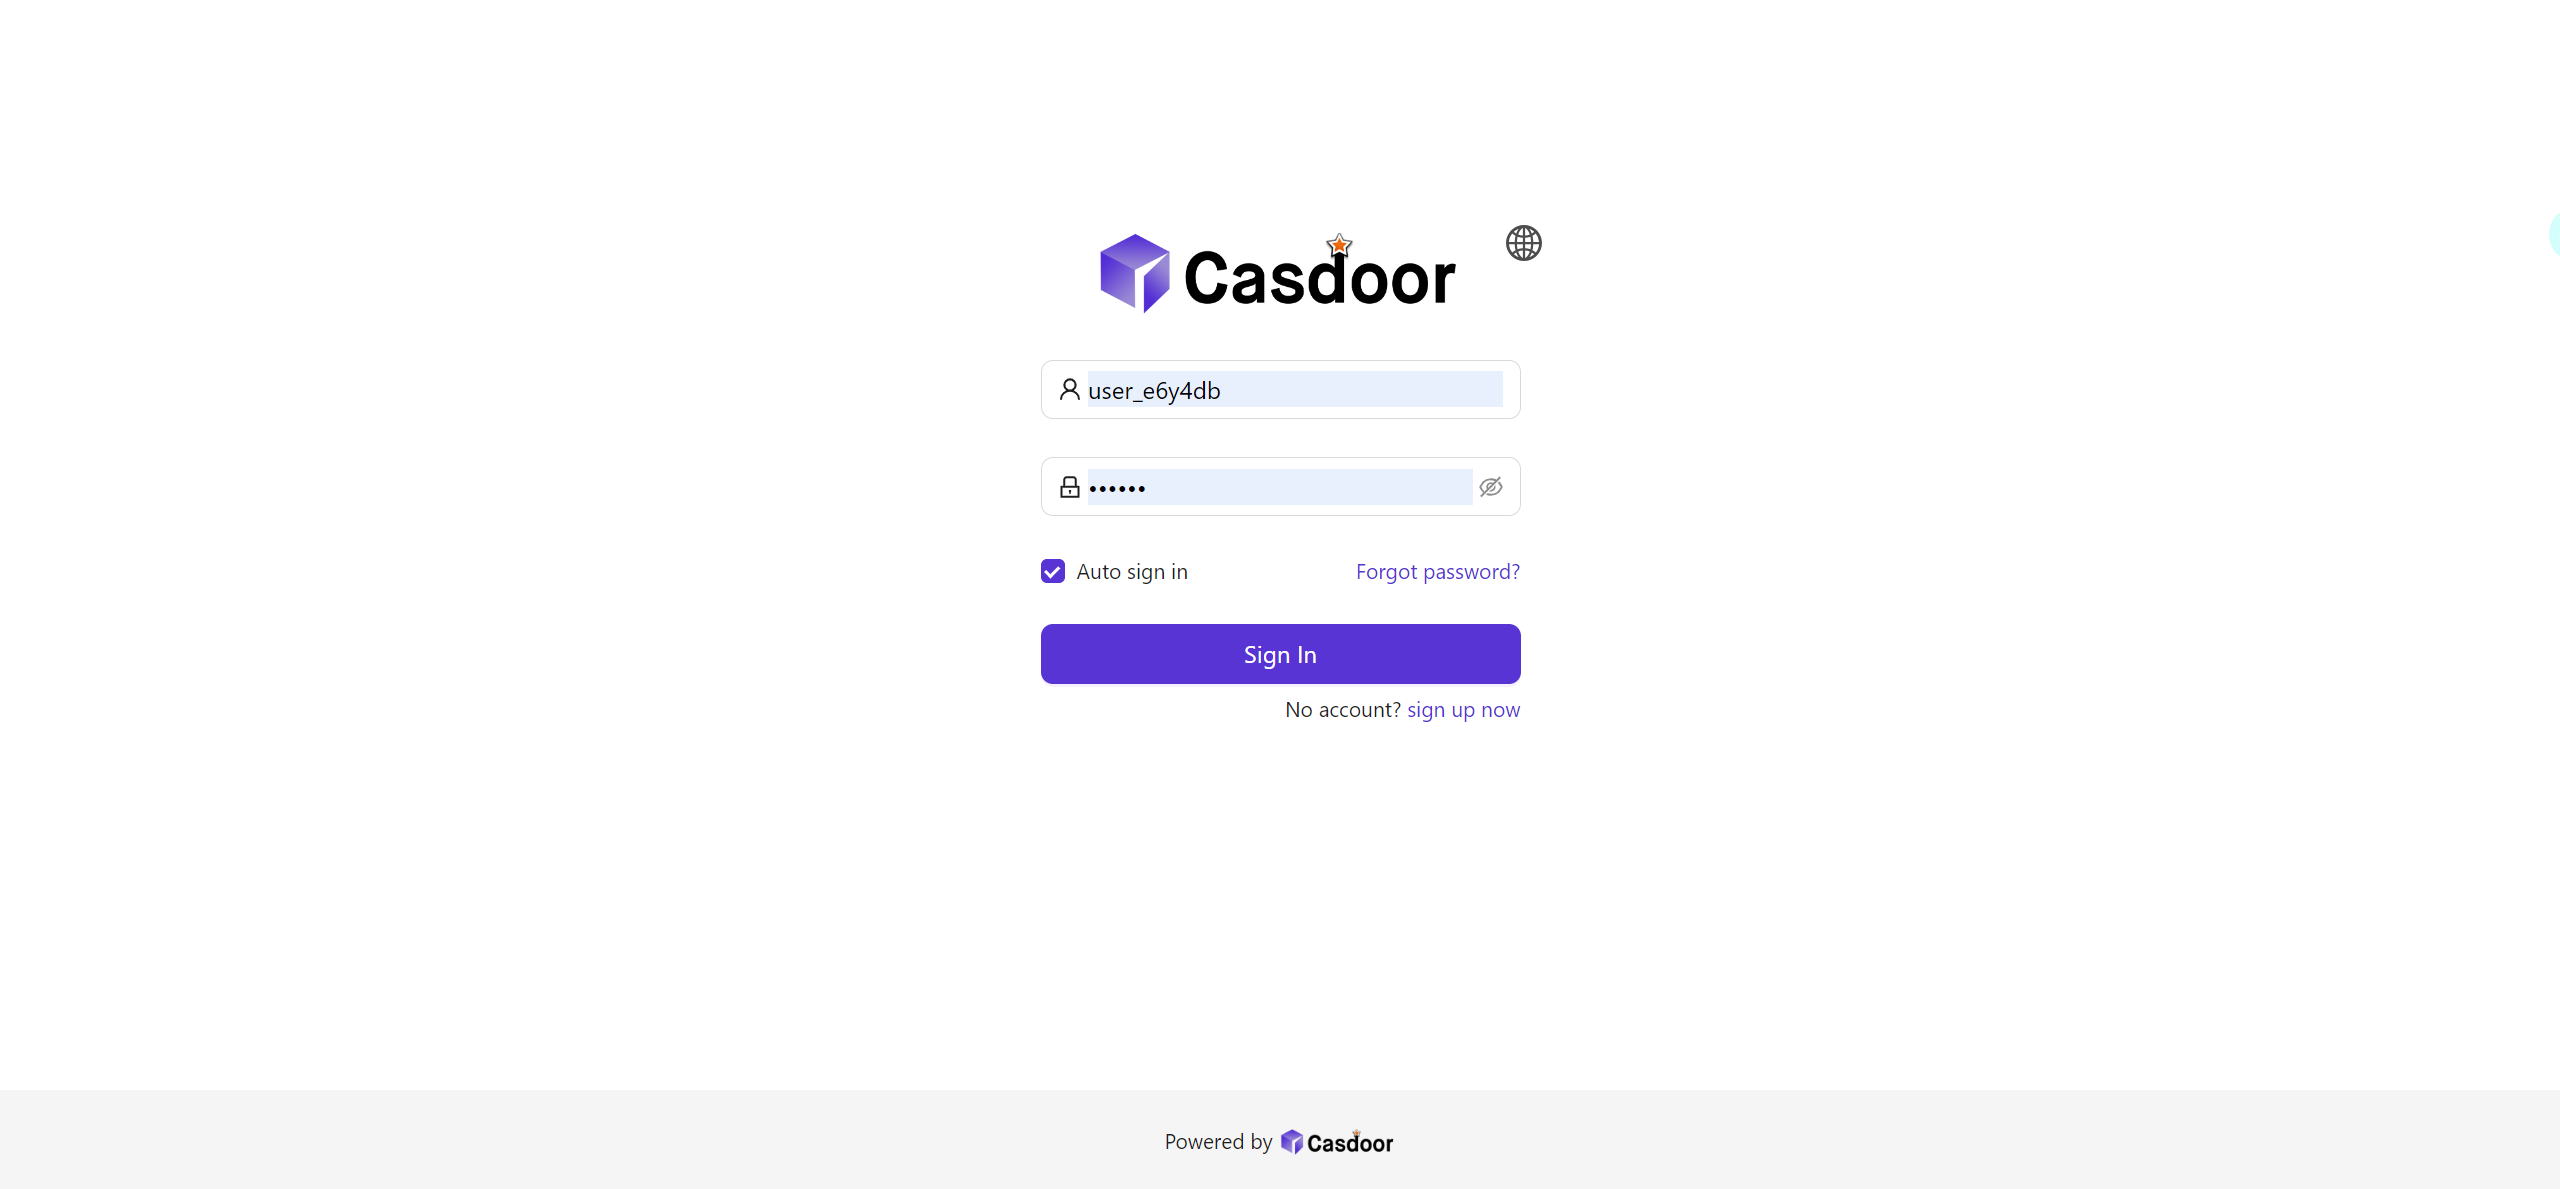
Preview
Visit: http://localhost:13001 in your browser. Login into Casibase dashboard with the user account you have just registered in Casdoor:
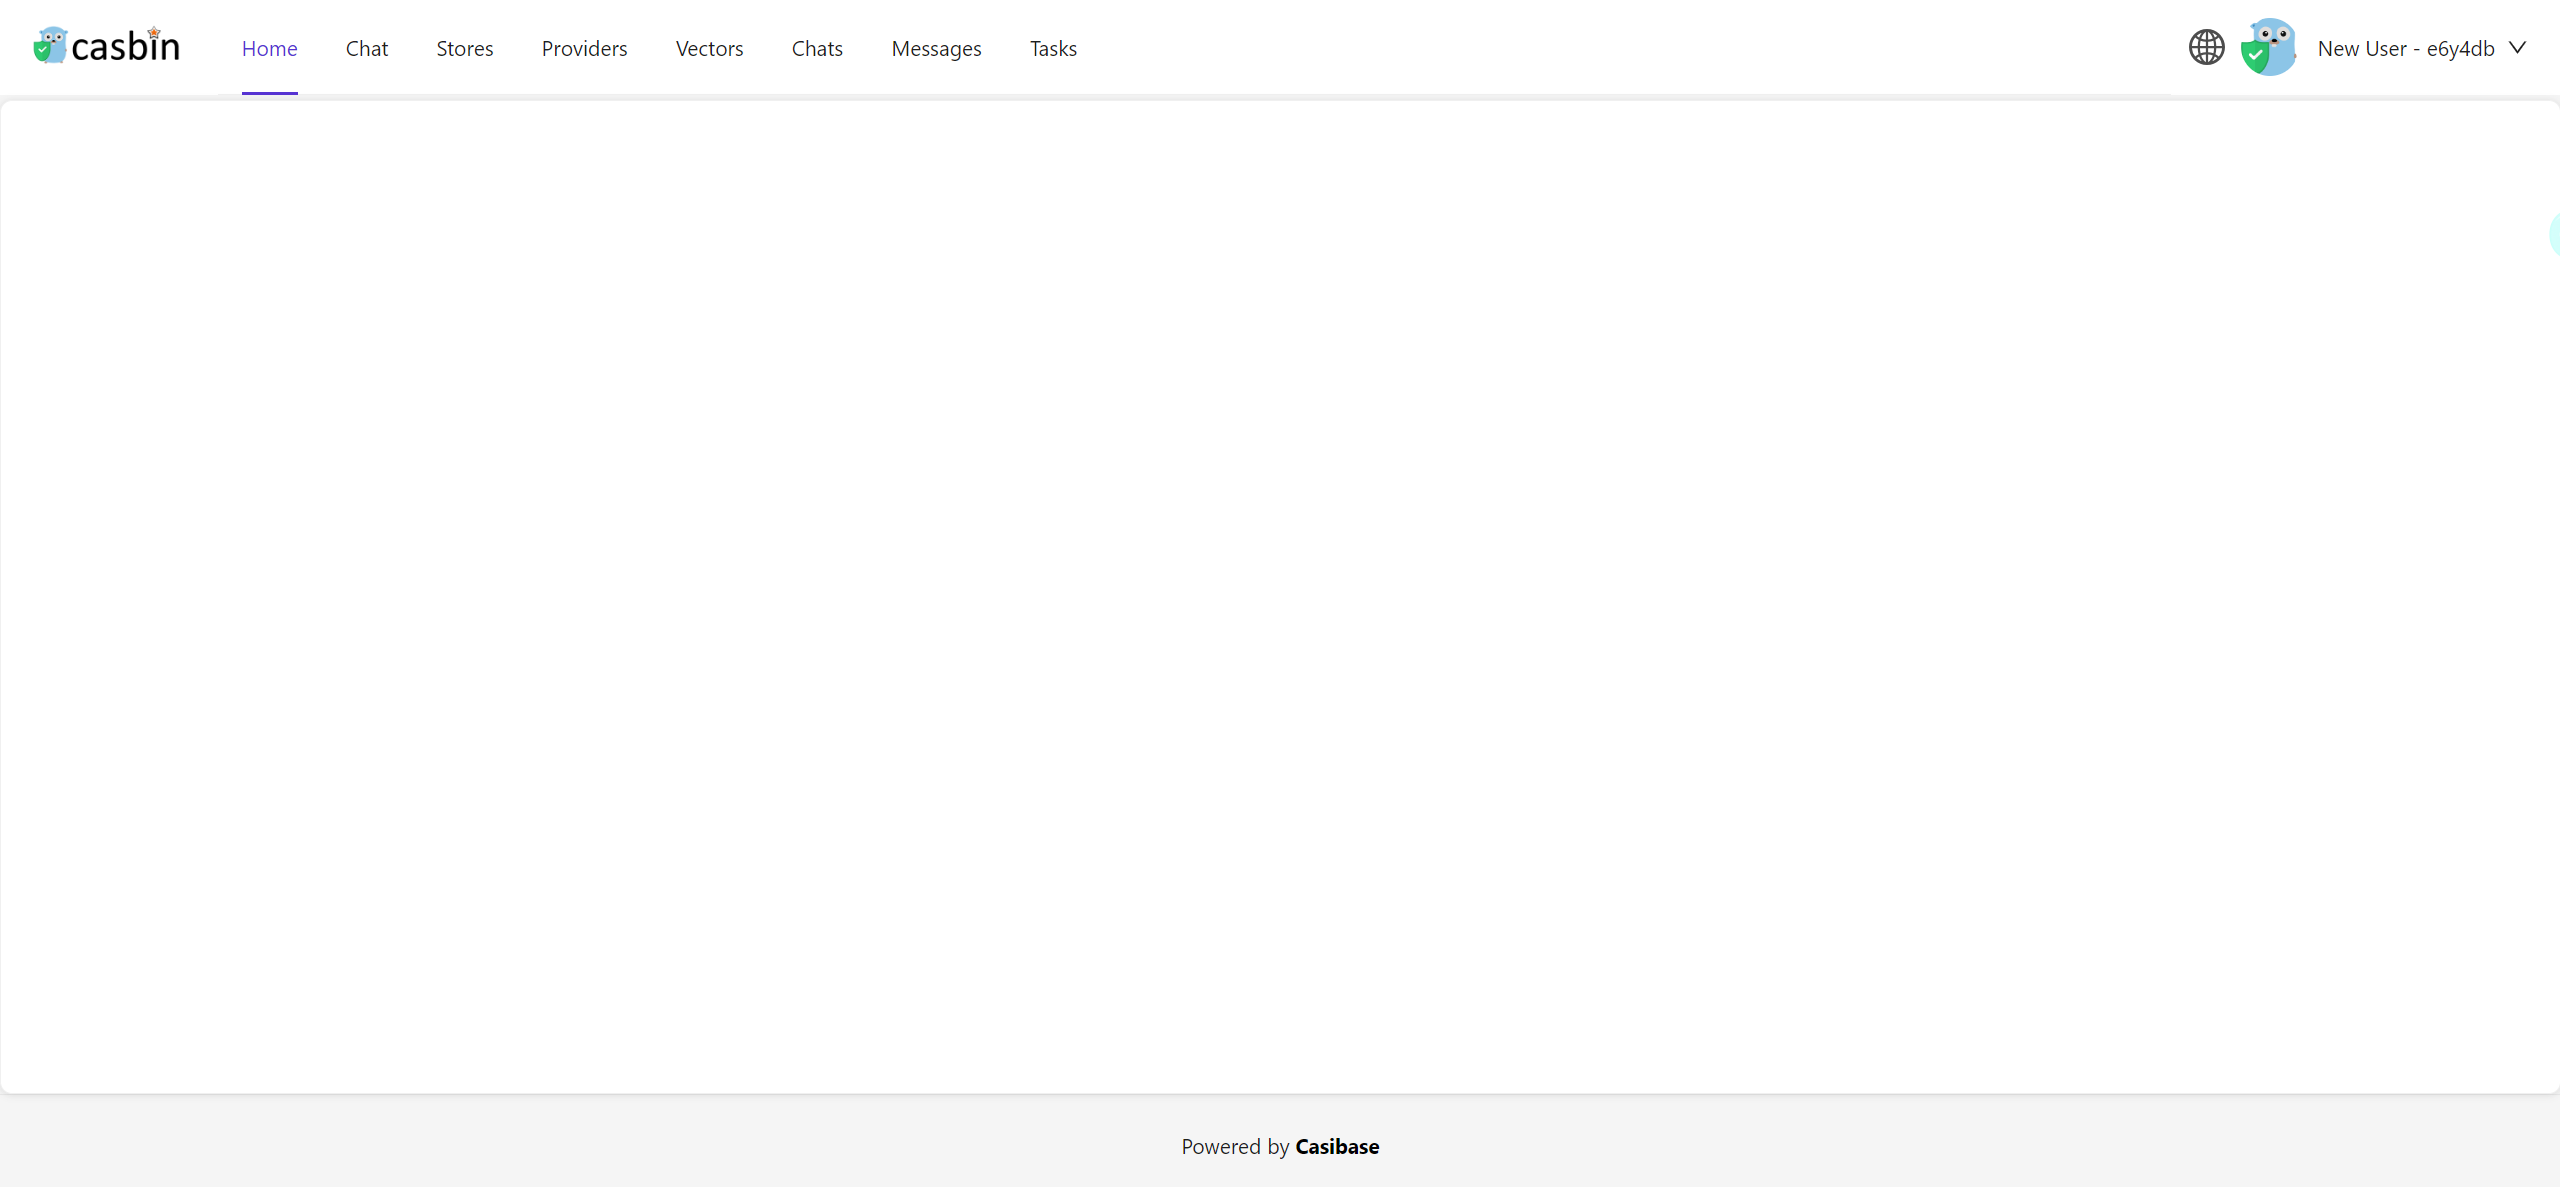
Then you will go to the home page of Casibase:
To use another port, please edit conf/app.conf and modify httpport, then restart the Go backend.